Got something you want to scan in 3D? It turns out you can use your iPhone with apps like Qlone, Scandy Pro, and Polycam, without any special hardware.
With Apple rolling out Object Capture on MacOS and including advanced LiDAR sensors on the current generation of iPhone, it’s clear that the company is taking 3D scanning seriously.
If you’ve never made a 3D scan before it might seem like a daunting process, but this guide will get you up and scanning with your iPhone in no time.

What do I need to make a 3D model?
You’re going to need a few things to create a 3D model using your iPhone. There are a variety of scanning apps available for iOS, and they all have various strengths and weaknesses. For instance, the Qlone app captures models for AR, but it requires a printed calibration mat for use. The Scandy Pro app can capture models very quickly using the LiDAR sensor on newer iPhone models, so anyone with an iPhone X or earlier is unable to take advantage of this feature. The Polycam app is one of the best (and easiest) scanning apps currently on the market: it works with either LiDAR (iPhone 12 Pro and up) or the rear-facing camera by stitching together photos (a process known as photogrammetry). With all that in mind, here’s what you need to get started:
- You’ll need an iPhone currently running iOS 14.0 or higher. Since the Polycam app has a photogrammetry mode (Photo Mode), you don’t need to use an iPhone with LiDAR, although that feature is supported as well. An iPhone 11 running iOS 14.7.1 was used for this guide.
- You’ll also need to download the Polycam app. This app has a free mode if you want to get familiar with the scanning process, but you’ll need to subscribe if you want to export or share your 3D models.
- Finally, you’ll need something to scan. Try to avoid shiny, dark, featureless objects or anything that would be difficult to photograph normally.
- OPTIONAL: A turntable will make rotating small objects much easier, and a tripod will keep your camera from shaking while taking pictures. These aren’t required, but will be helpful for getting sharp pictures of small, intricate objects.
How do I make a 3D model using my iPhone?
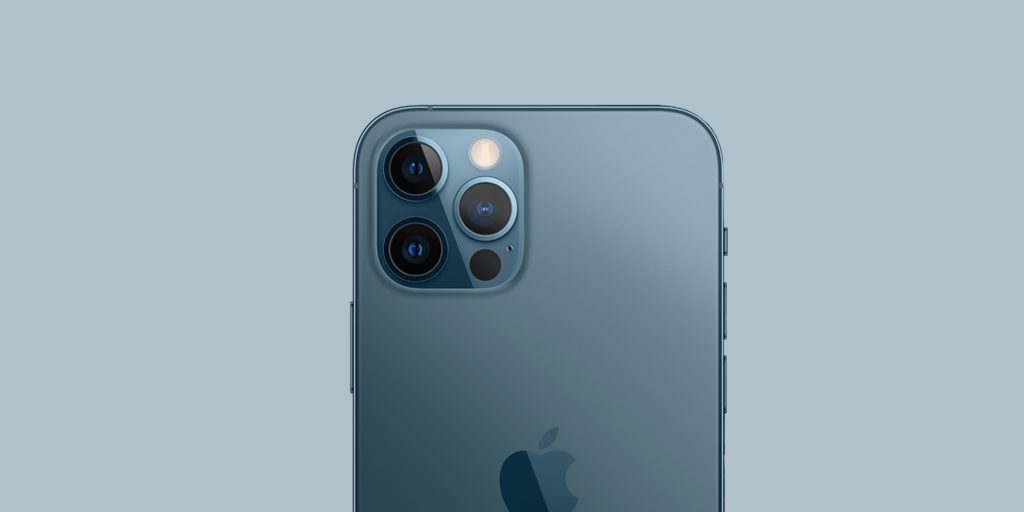
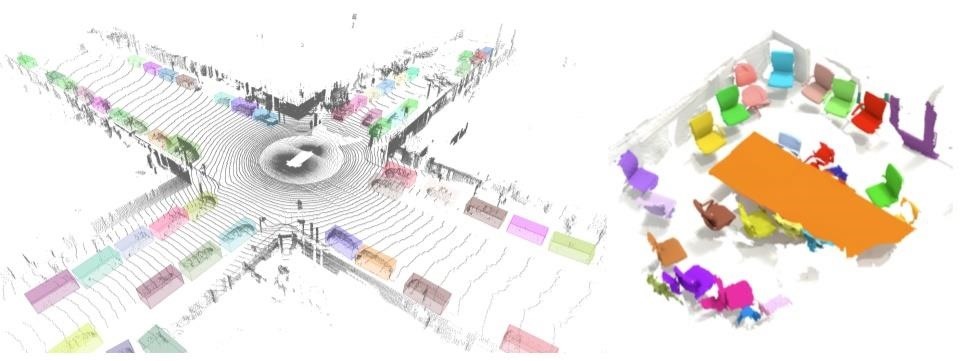
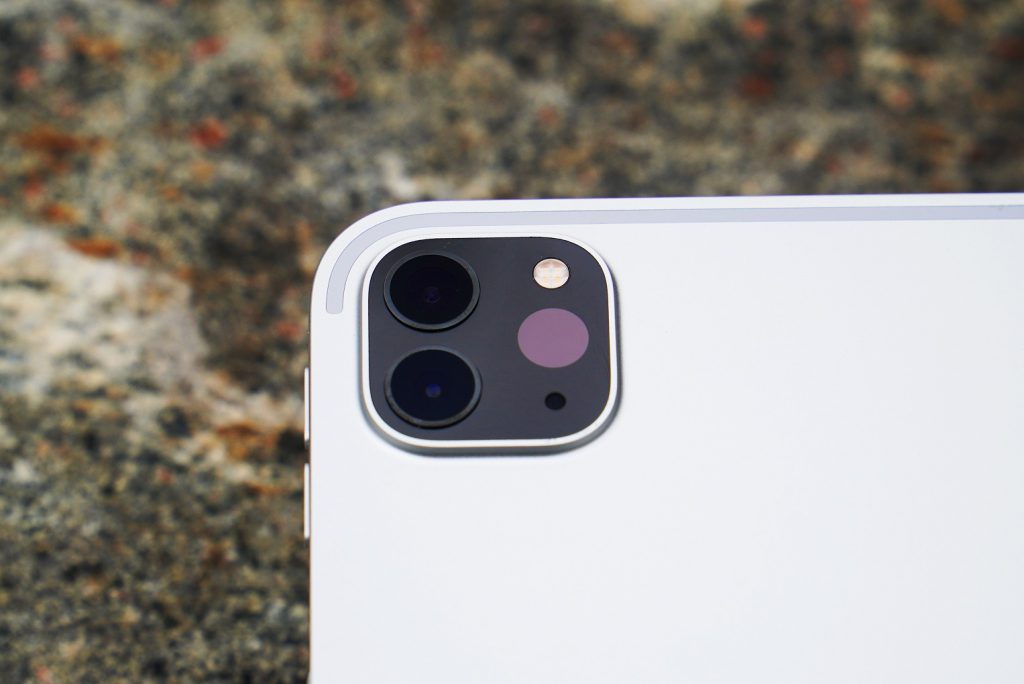
This guide uses the photogrammetry mode of Polycam, as opposed to LiDAR. Apple originally included a LiDAR sensor on the iPad Pro in 2020, and has since included the sensor on their iPhone 12 Pro and iPhone 12 Pro Max phones, as well as the upcoming iPhone 13 Pro and iPhone 13 Pro Max. LiDAR works by quickly creating a 3D model using pulsed light to measure distances and capture geometry. LiDAR technology can quickly capture room-sized areas and other large objects, but photogrammetry is ideal for capturing small objects with lots of color and texture detail.
Making a 3D model with only an iPhone is probably easier than you think, and the Polycam workflow only requires a few steps. When setting up your model for scanning, try to avoid harsh, uneven, or directional lighting. The more crisply your object pops out from the background, the better the quality of the 3D model will be.

- Set up your model. This toy toucan is ideal for 3D scanning: it’s asymmetrical, colorful, and has a finish somewhere between matte and semi-gloss.
- Open the Polycam app and start taking pictures. A minimum of 20 photos is needed to make a model, but the more photos you include in the photo set, the better the quality of model you’ll get.
- After making a full revolution around the model, flipping it on its side will let you capture the areas that you have missed. This model was scanned standing up, on its right side, and finally on its left side. A total of 81 pictures were used to make this model.

Once the photo set is complete and the pictures have been uploaded, it’s time to create a 3D model. Let’s walk through the settings used in making a 3D model.

- Detail – This setting determines the size of the mesh (3D model) and the texture (color on the model). Reduced is ideal for sharing on the internet, Medium is optimized for use as a game asset or sharing on mobile, and Full will create a model ideal for high-resolution rendering applications.
- Object Masking – This setting filters out the background from your model. If you’ve flipped your model over, you’ll need to use this setting to make sure your model is processed correctly.
The next step is to process the photos. This processing is done remotely, so once the photos have fully uploaded you just need to check back after a few minutes to check the status of your model. Once the processing is complete, you can examine the model in Polycam to determine if it scanned correctly. Using the built-in camera controls, scroll around the model and check to make sure all hidden features were captured and the texture is satisfactory.
How do I share a 3D model from my iPhone?
Once you’ve made a 3D model, you’re probably going to want to share it online. There are a few different ways to do this, so let’s cover some popular ones.

Sketchfab
Sketchfab is a popular repository for sharing 3D models, and Polycam supports a direct export functionality for posting your models online. For ease-of-use, there are few options as simple and straight-forward as Sketchfab. In addition, the built-in 3D view on Sketchfab can be embedded and you can add post-processing effects easily using their editor.
Polycam also features a direct export function to Instagram, which will generate a 360-degree video flyaround of your model and allows you to select between sharing it to your feed or as a story. If you’re interested in sharing your model on Twitter or other social media apps, the same video can be exported and saved to your camera roll for uploading.
OBJ / STL Export
If you’re interested in 3D printing your models, the OBJ and STL export functionality will allow you to export a mesh of your model. This mesh can be processed or edited using software like the mesh-editing software Meshmixer, or just directly sent to a 3D printer slicer app.
Quelle:
