Many VR enthusiasts enjoy the social aspect of games, but find it tedious or frustrating to create a lobby or social area and then invite each of the friends they want to join them.
With the Oculus app, users can easily go through the steps on the Oculus phone app, create a link for the group launch, and share that with their friends through social media such as Discord, Facebook, or private chat.
Steps to Create Your Group Launch
Here’s a step-by-step guide on how to create your group launch:
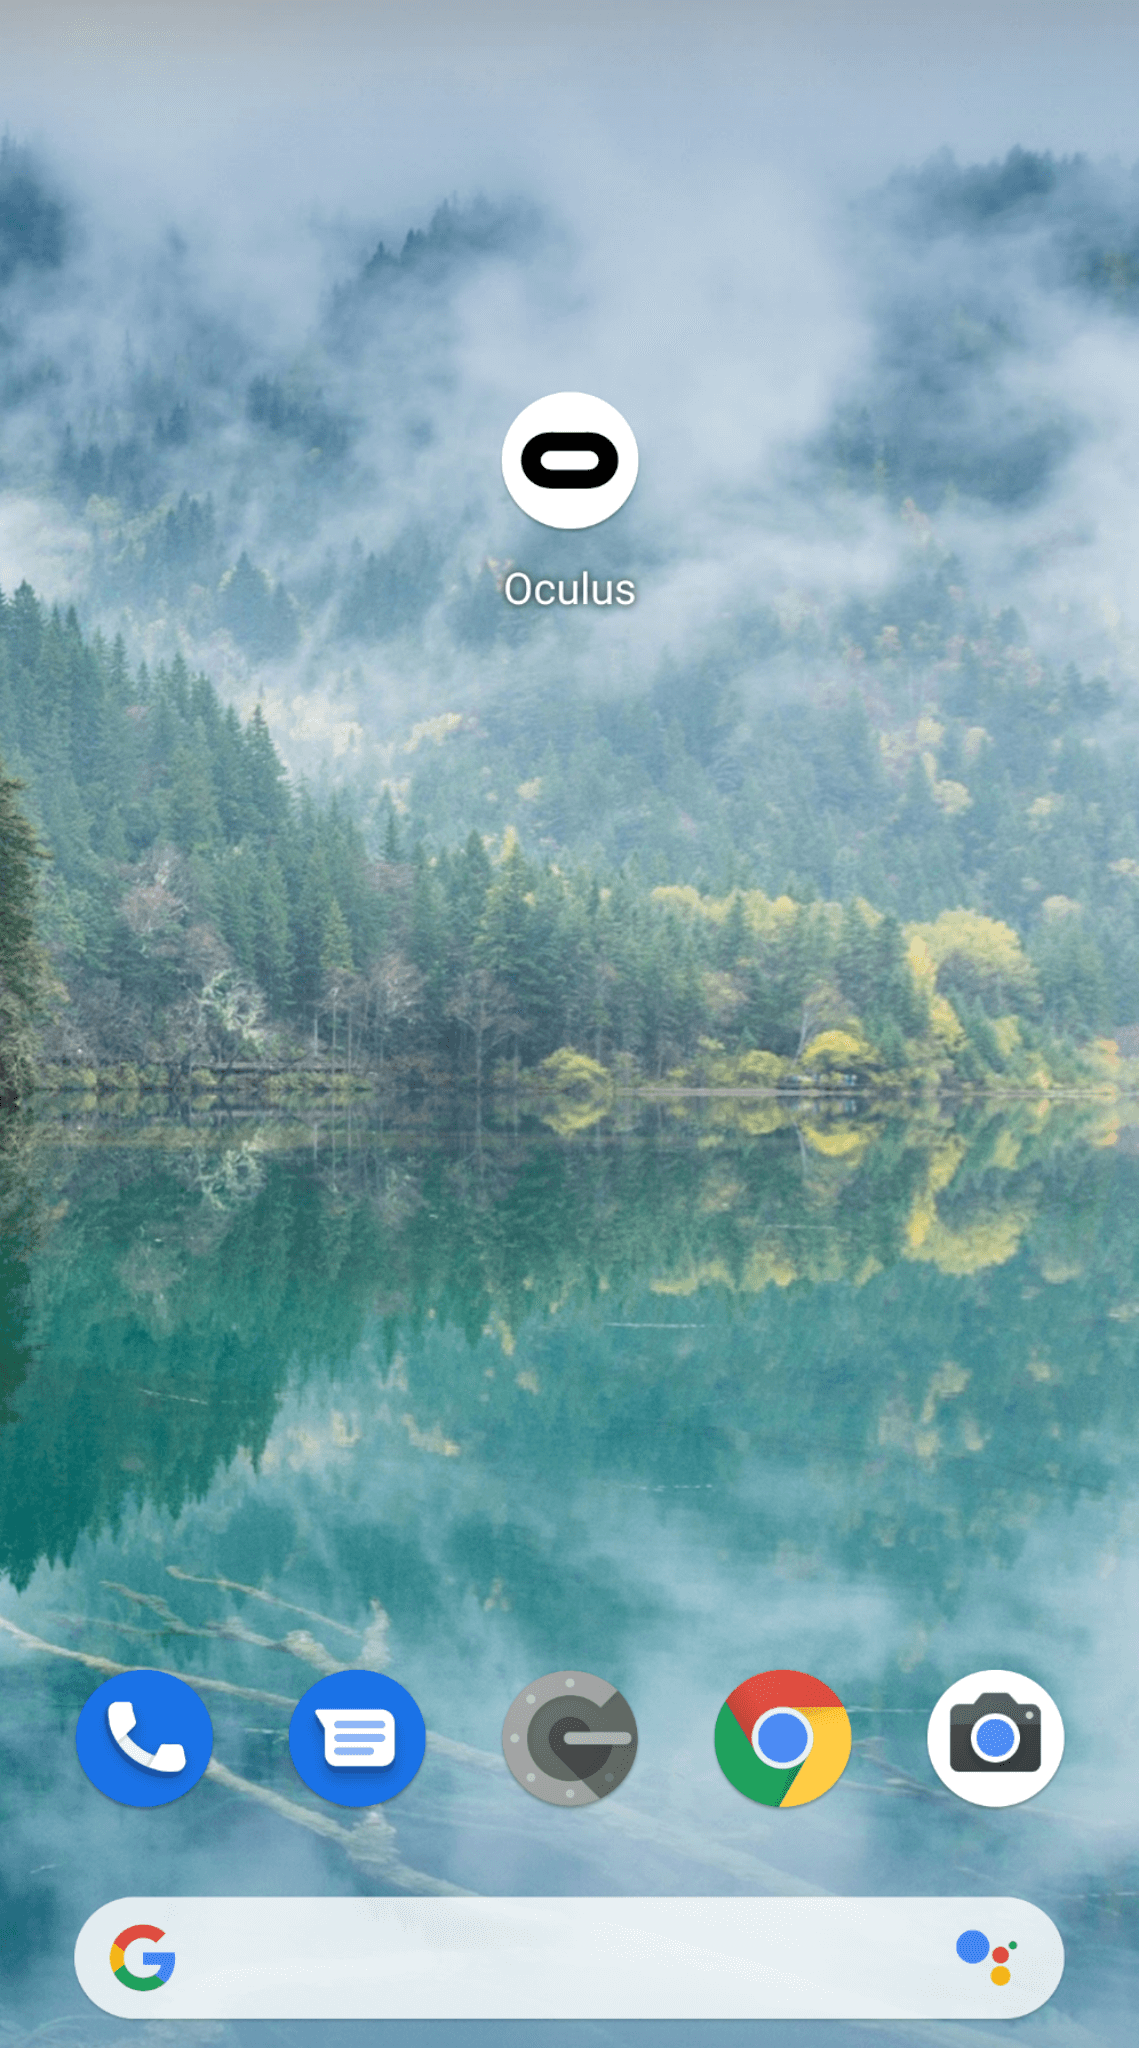
1. Open the Oculus app on your phone.
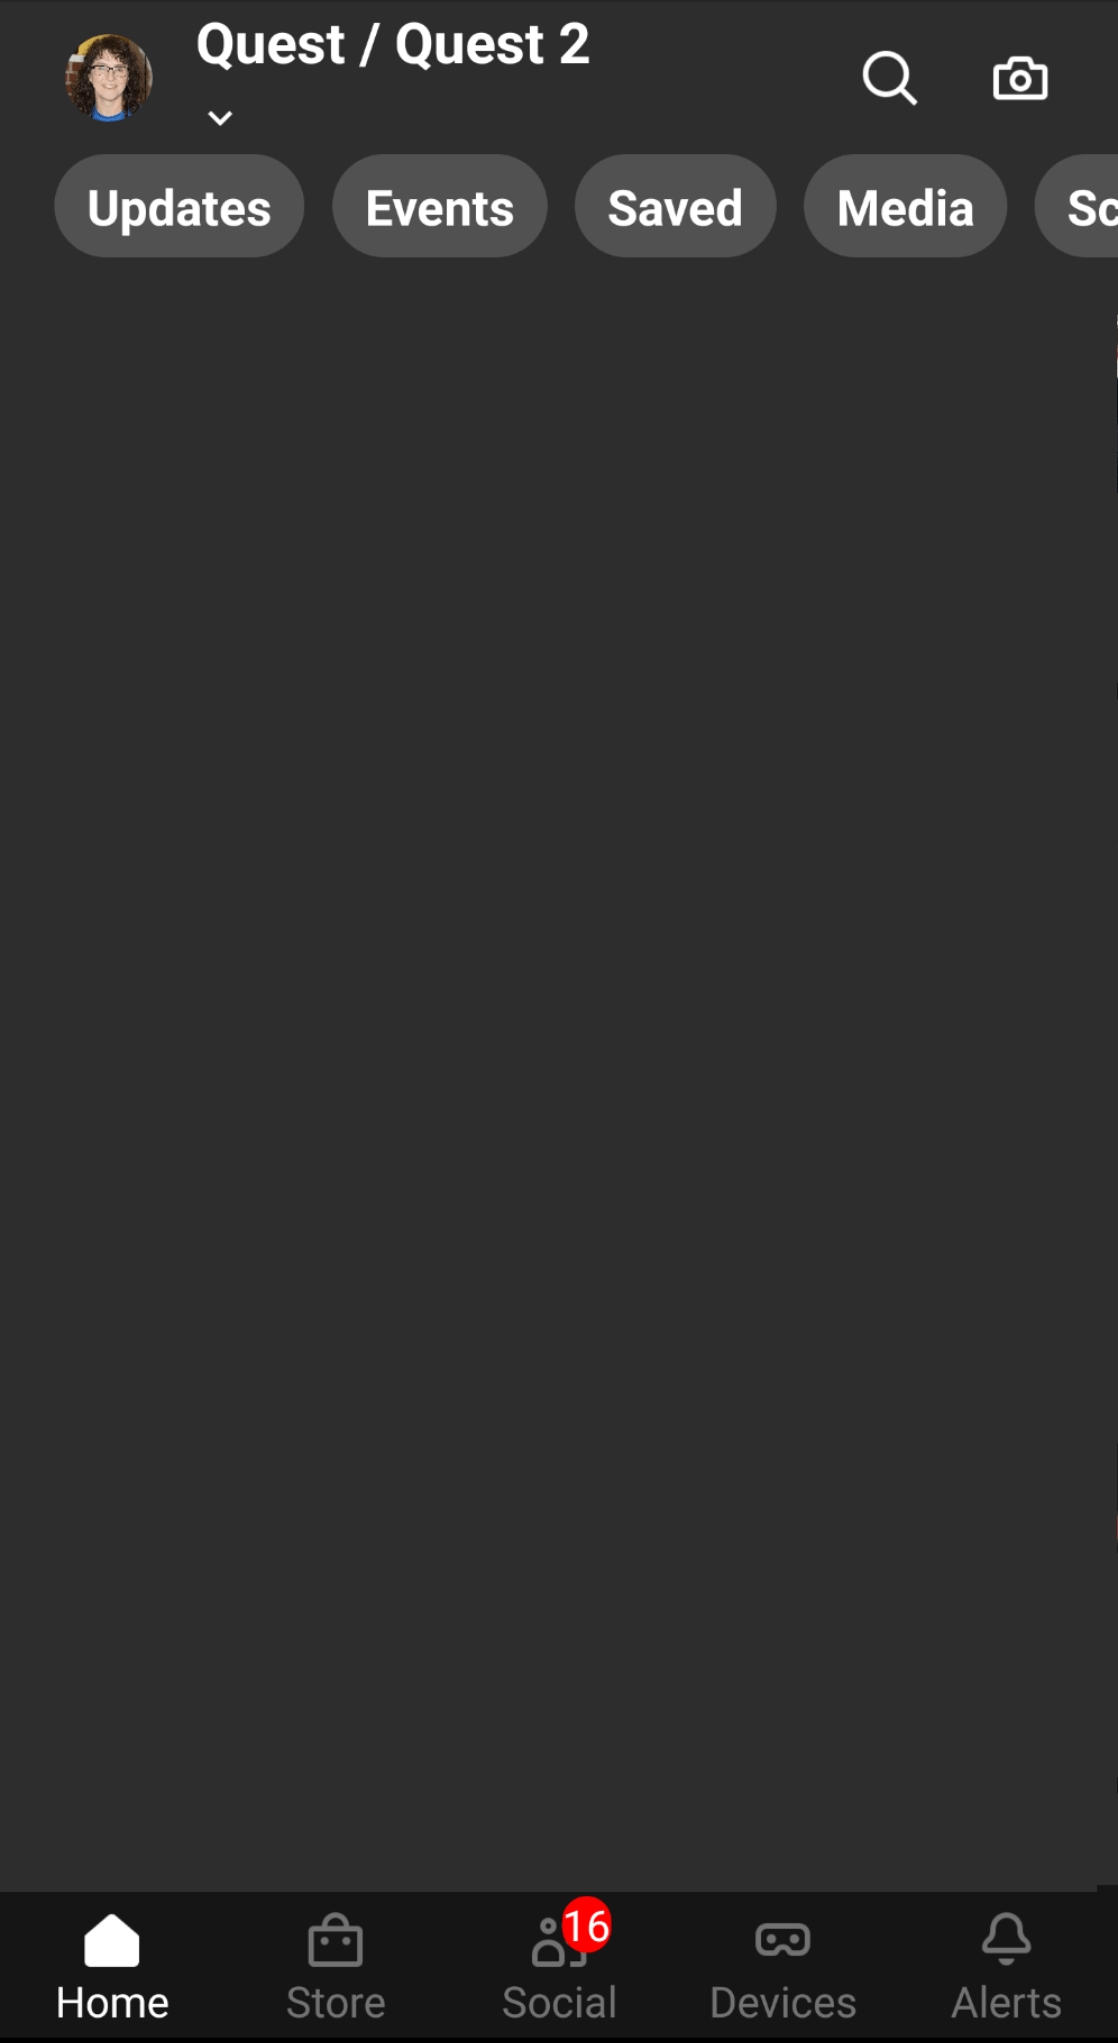
2. Select “Social” at the bottom.
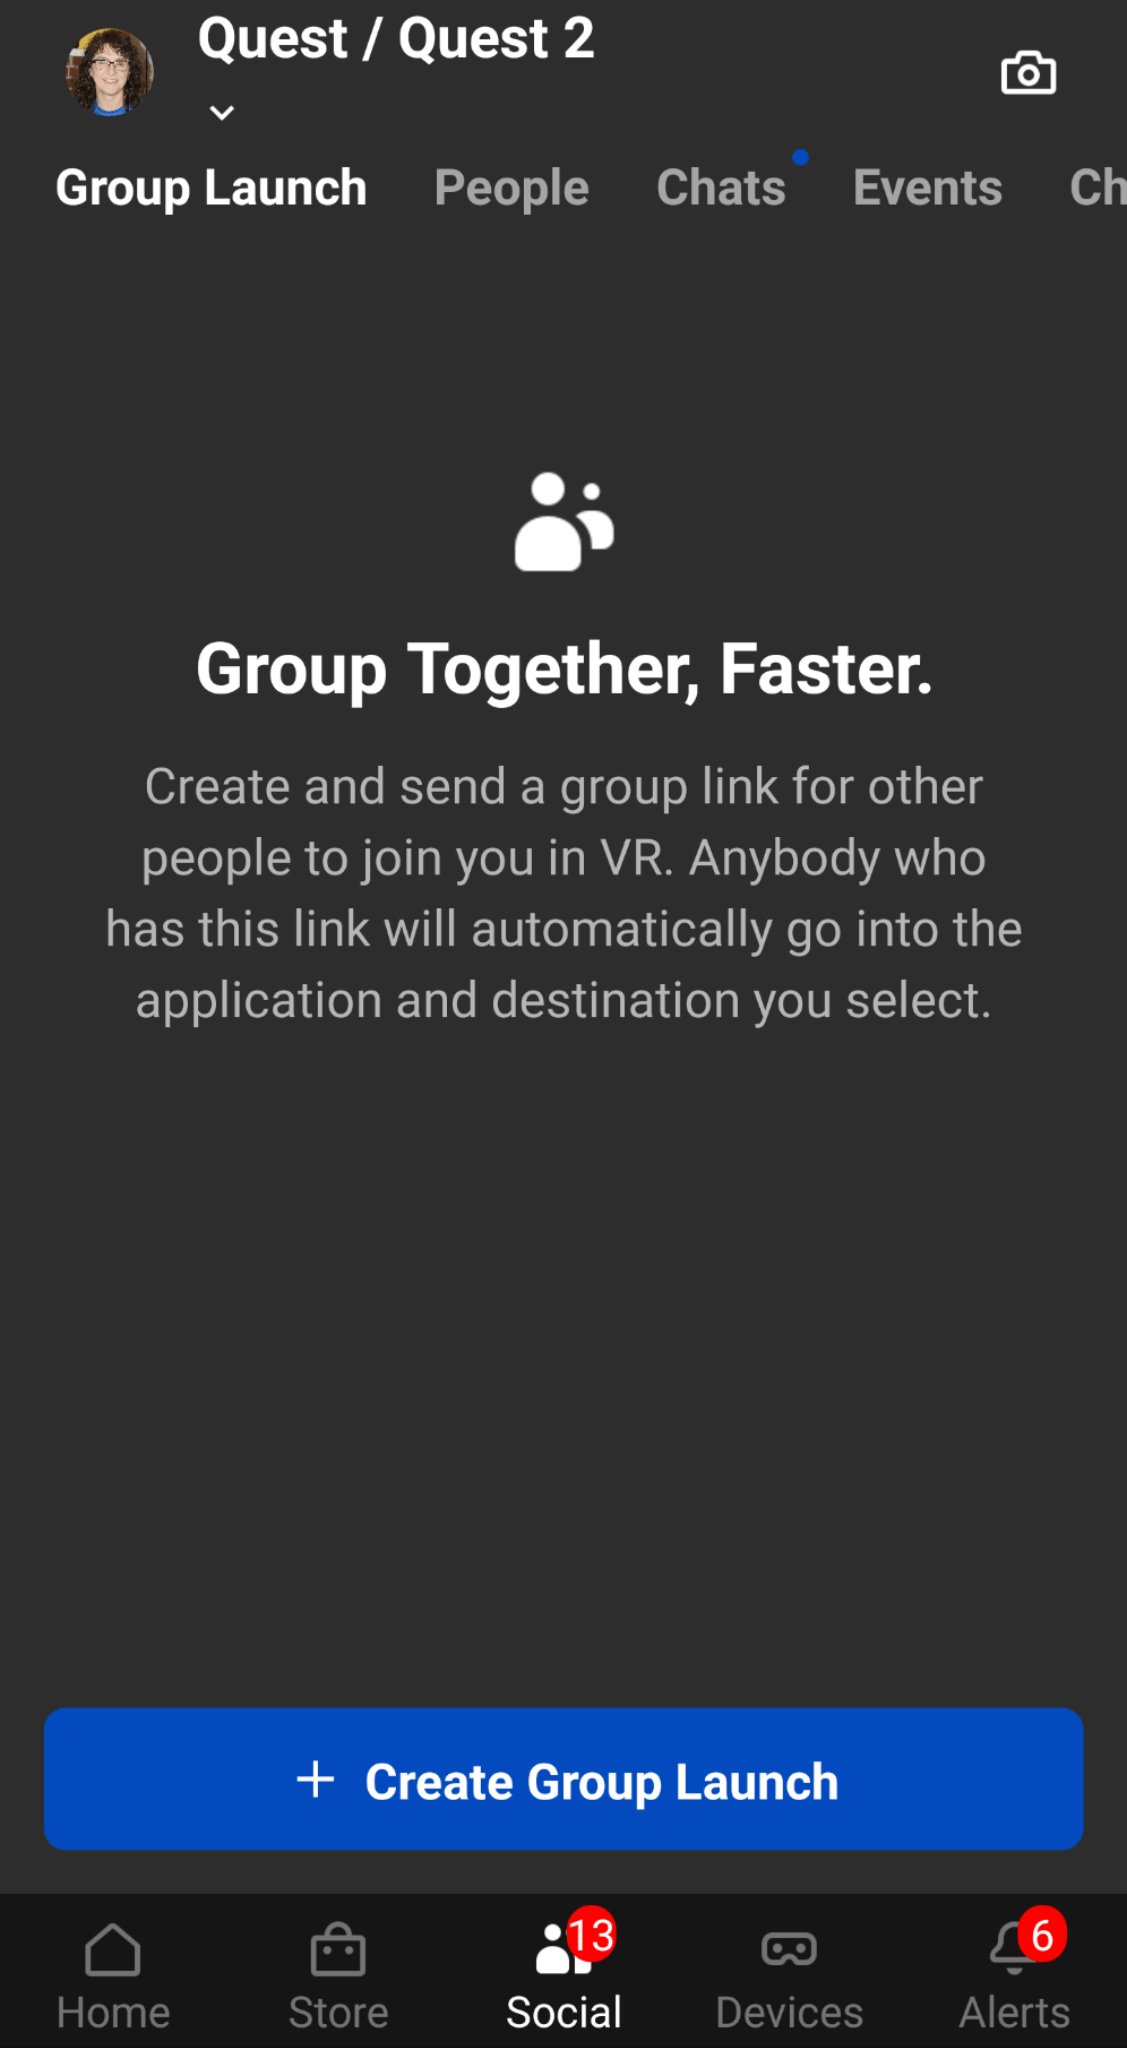
3. Choose “Create Group Launch.”
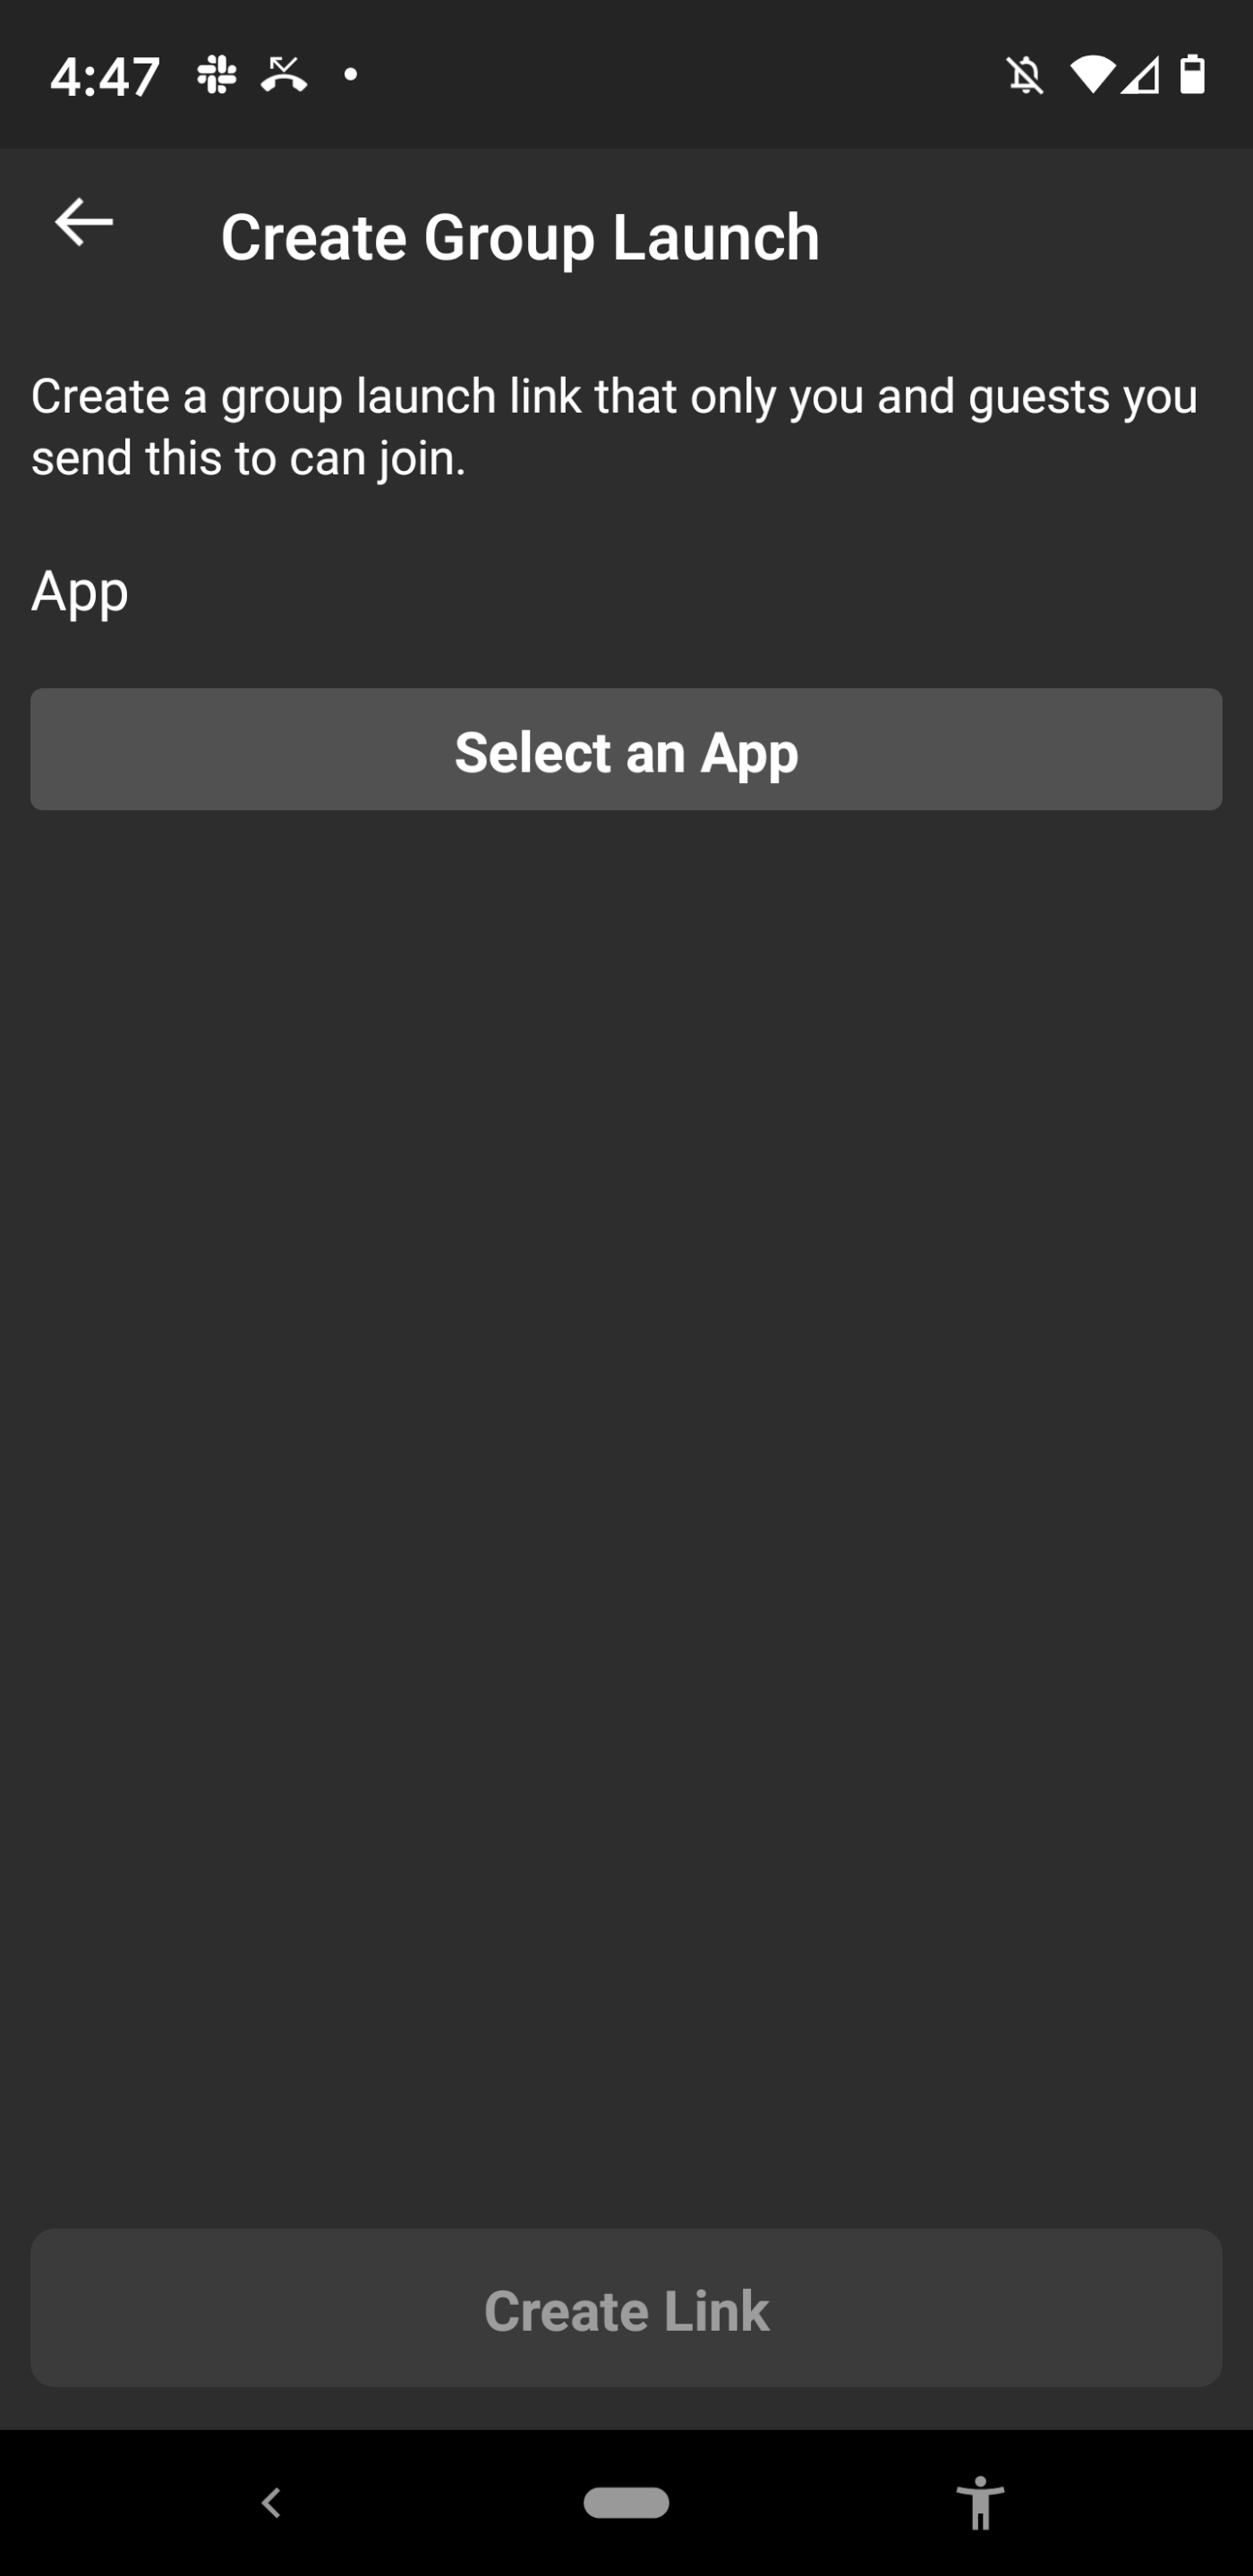
4. Select an app.
5. Click where it says “select a VR destination for the group launch” and choose the option you want (lobby, deathmatch, etc.).
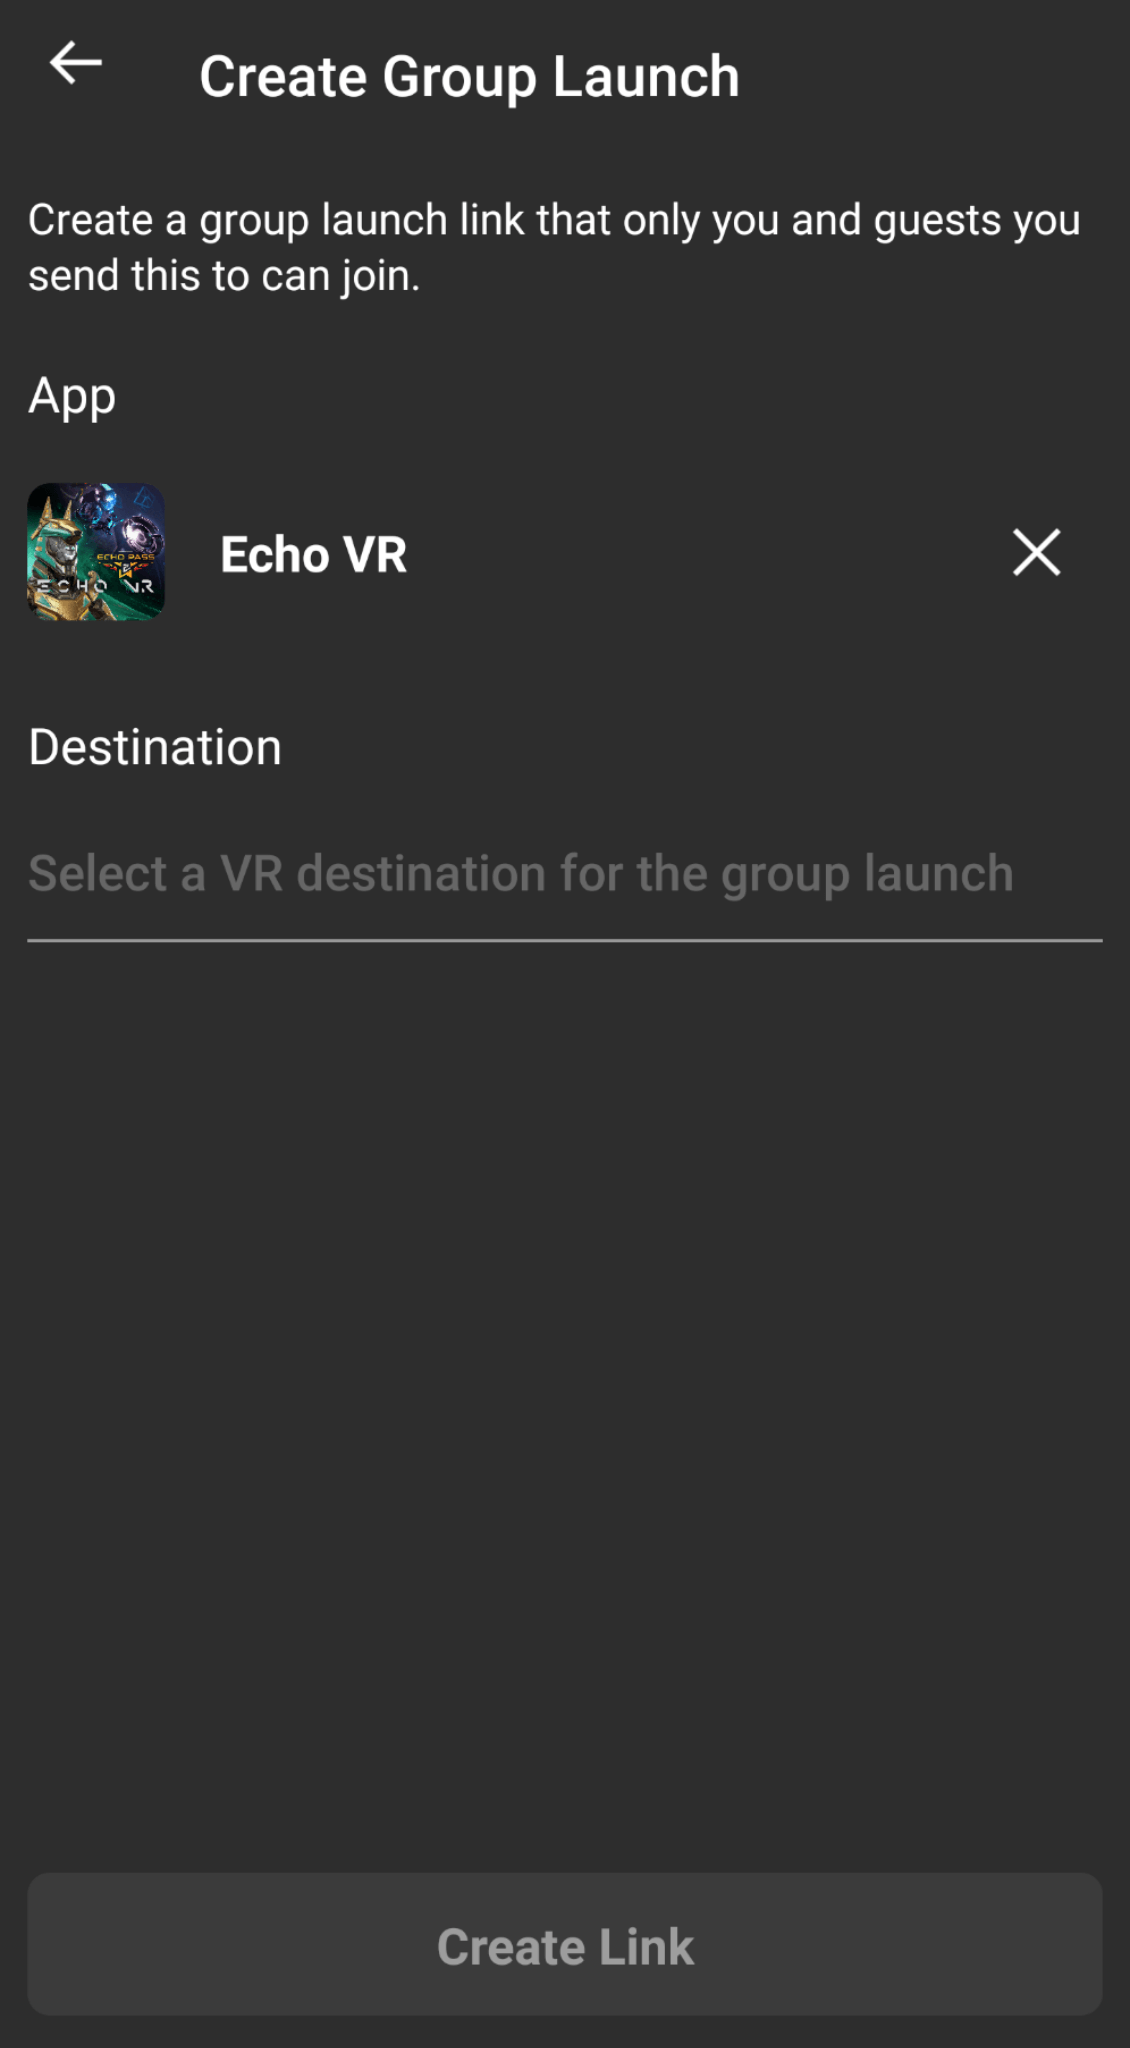
6. Create a link.
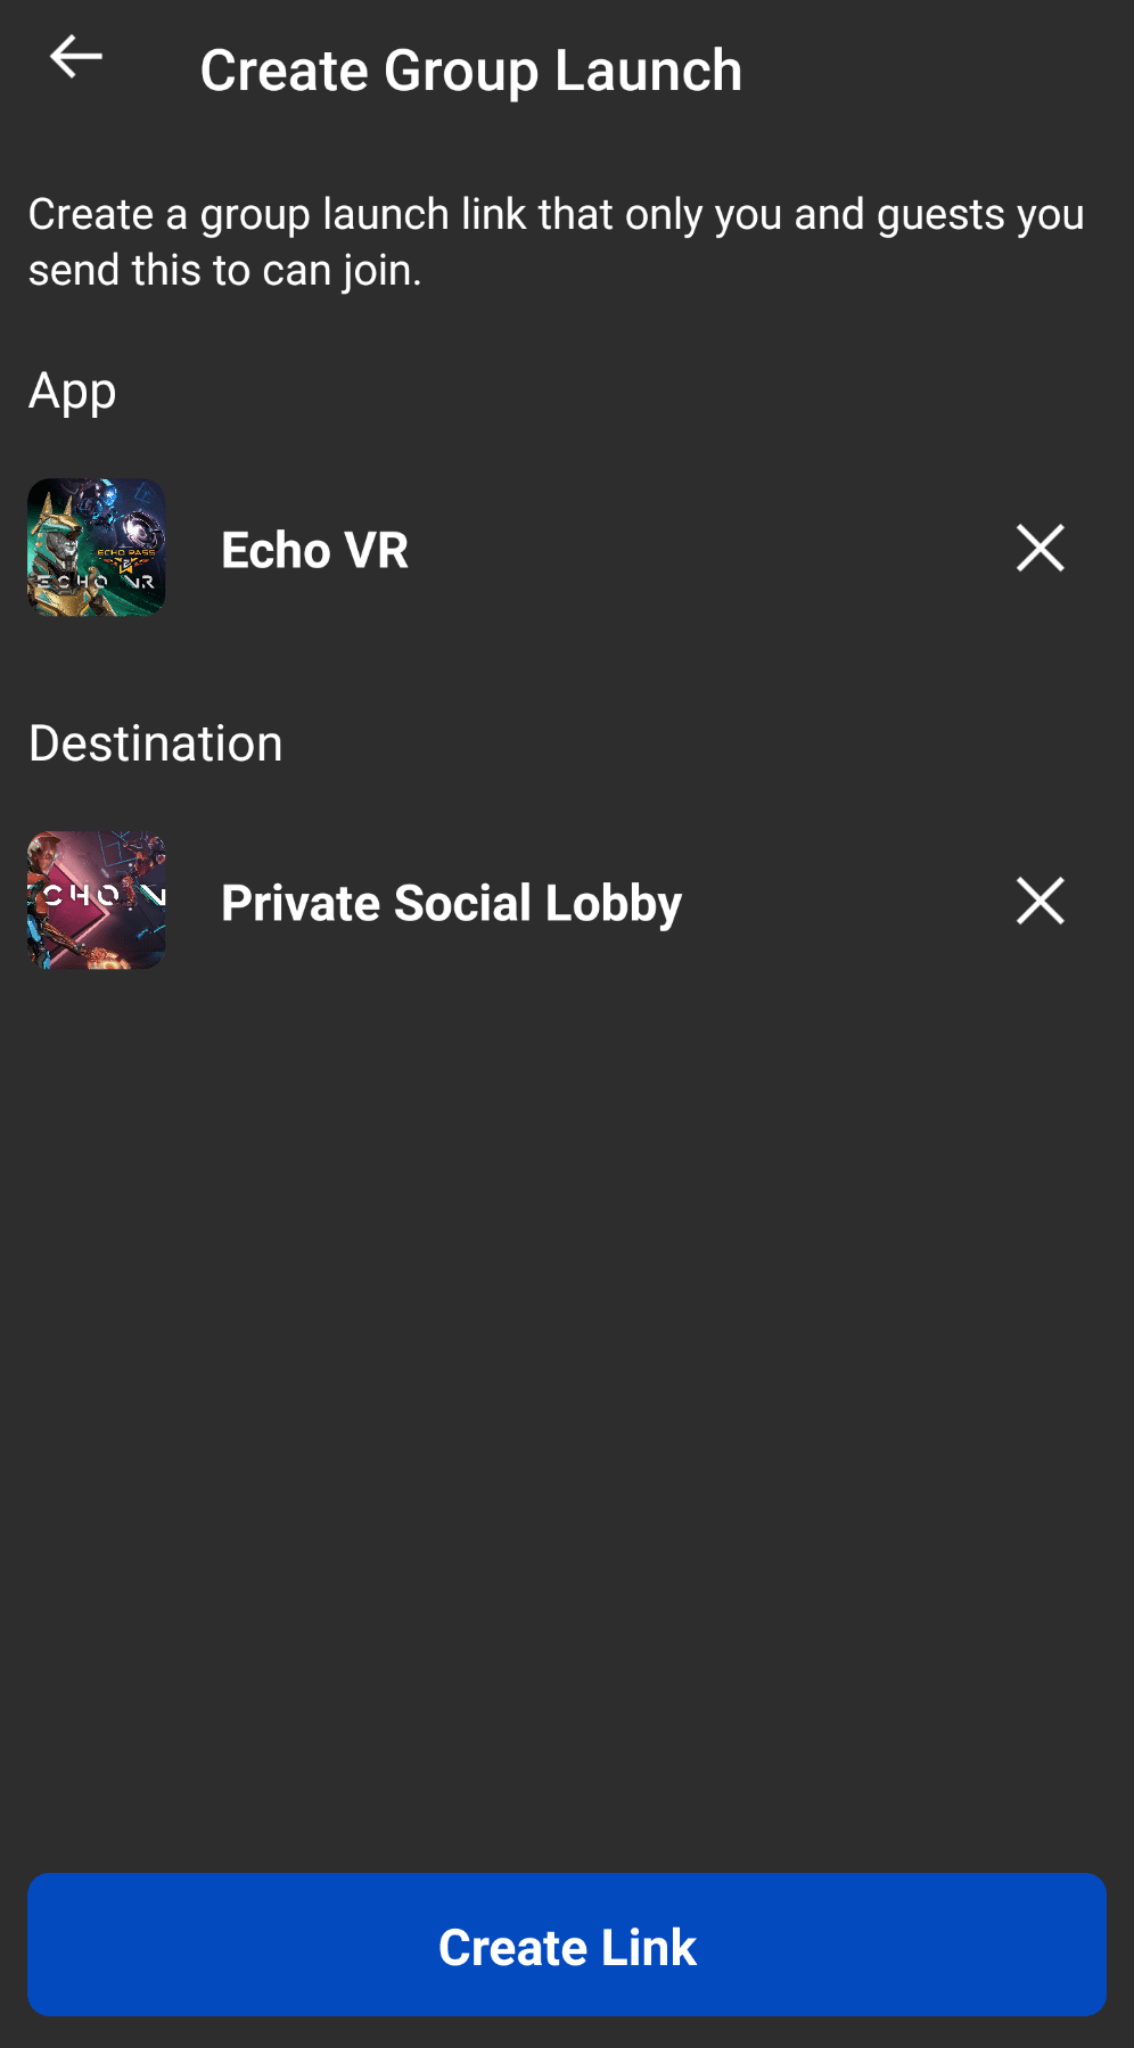
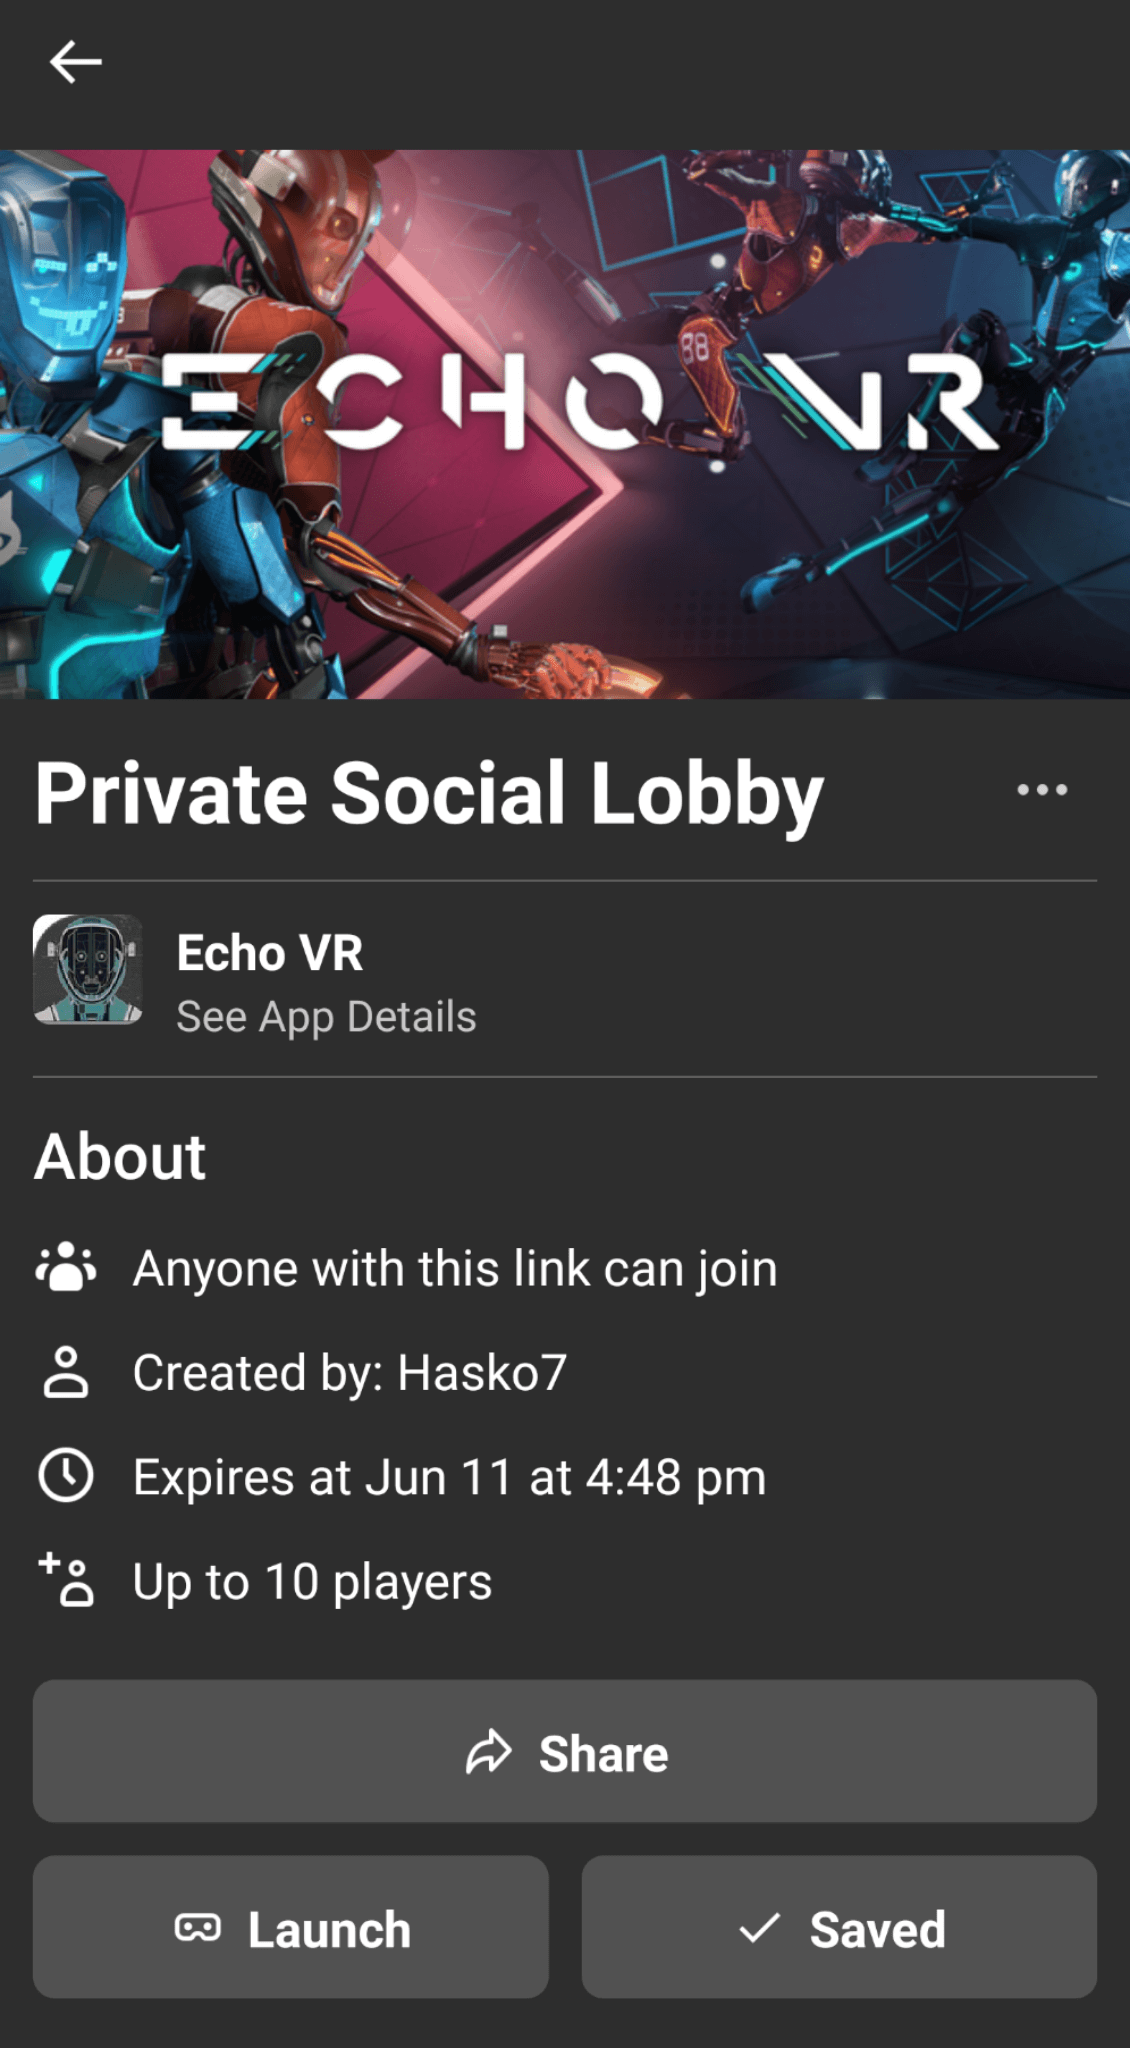
7. Share.
The app is easy to navigate and group launch is especially useful if you want to invite more than one or two people to an event, training, etc.
Once you’ve created the link (step 6) and clicked “share” (step 7), you can use it on social media, send it as a private message, or copy and paste it wherever you’d like.
Launch on Headset
If you haven’t already done so, now is the time to turn on your headset so you can hop into your group.
Click the “Launch” option (see the image in Step 7) and you’ll be able to see your linked headset(s). Once your connected headset is selected, the app and private group area will open in-game.
Note About the Oculus App
While the Oculus app is an incredibly useful tool, it can be finicky. It crashes more for some functions than others so some features of the app rarely work.
Typically, I have no problems using the Group Launch function, but if you encounter problems, one thing you can try is to uninstall and then reinstall the app. That will force it to load the latest version, which sometimes helps.
Quelle:
